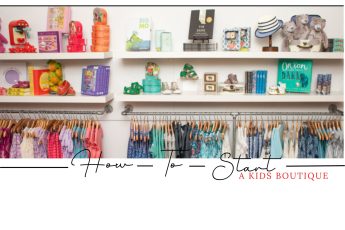
The “How To” on display racks
Display racks are an essential part of retail merchandising. They help to showcase products and create a visually appealing environment that can draw customers in and encourage them to make purchases. If you’re looking to create a display rack for your business, here’s a step-by-step guide to help you get started.
Step 1: Determine the Type of Rack You Want to Create
Before you start building your display rack, you need to decide what type of rack you want to create. There are various types of display racks available in the market, including wall-mounted racks, floor-standing racks, and countertop racks. Each type of rack has its own advantages and disadvantages, so it’s important to choose the one that suits your needs and budget.
Step 2: Choose the Material for Your Rack
Once you’ve determined the type of rack you want to create, it’s time to choose the material you want to use. Display racks can be made from a variety of materials, including wood, metal, plastic, and glass. The material you choose will depend on the type of products you want to display, the look you want to achieve, and your budget.
Step 3: Create a Sketch or Design
Before you start building your display rack, it’s a good idea to create a sketch or design. This will help you to visualize the final product and ensure that you have all the necessary components. You can use a free design software or a pen and paper to create your design.
Step 4: Gather Your Tools and Supplies
Before you start building your display rack, make sure you have all the necessary tools and supplies. This will include items like a saw, drill, screws, sandpaper, paint, and varnish. You may also need to purchase additional hardware, such as brackets or hooks, depending on the type of rack you’re building.
Step 5: Cut and Assemble the Pieces
Once you have all the necessary tools and supplies, it’s time to start building your display rack. Cut the pieces according to your design and assemble them using screws, glue, or brackets. Sand the edges to create a smooth finish, and then paint or varnish the rack to give it a polished look.
Step 6: Add Finishing Touches
Once your rack is assembled and painted, you can add finishing touches like hooks or brackets to make it more functional. You can also add decorative elements, such as stenciling or decals, to create a unique and eye-catching display.
In conclusion, creating your own display rack can be a fun and rewarding project that can save you money and provide you with a custom solution for your business. By following these simple steps, you can create a display rack that will showcase your products and help you attract and retain customers.
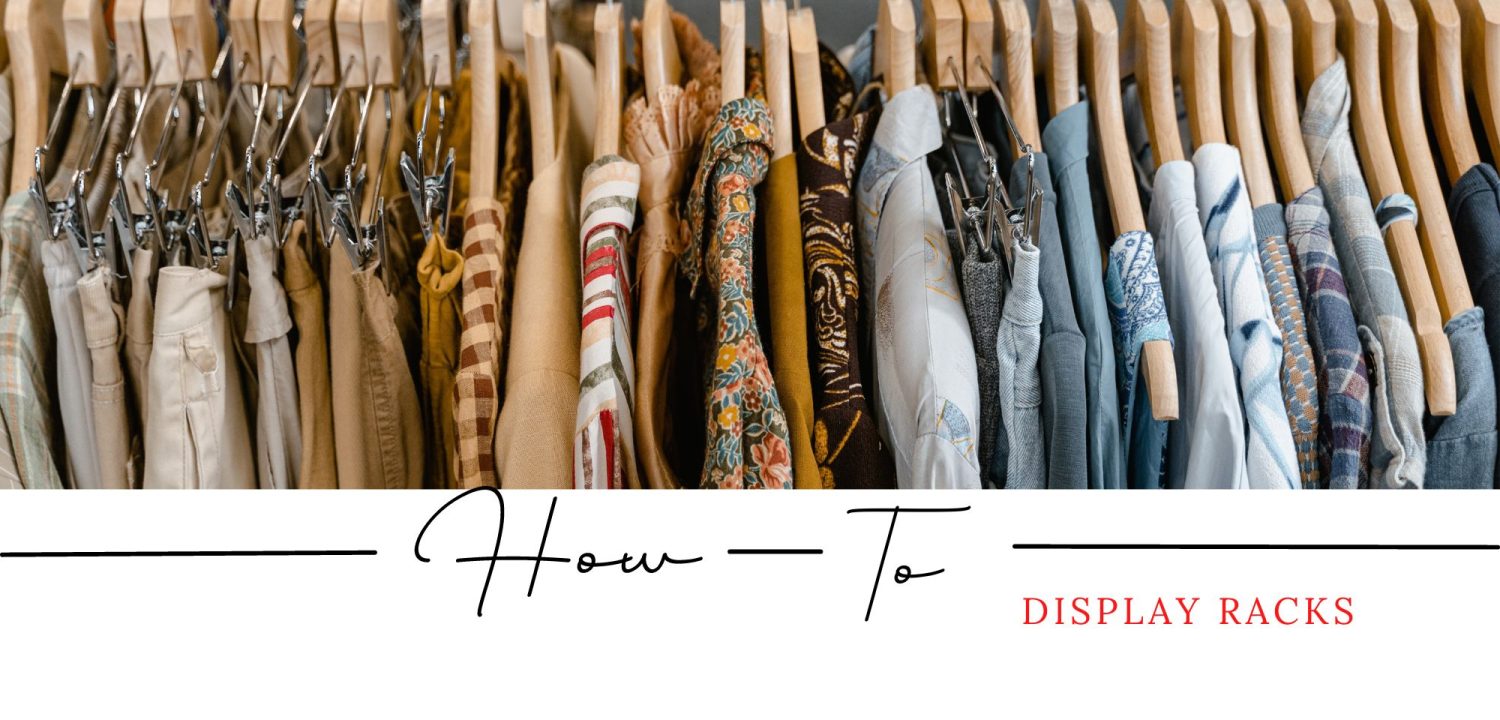
How to build a clothing display rack
Building a clothing display rack can be a fun and rewarding DIY project. Here are some steps to follow to build your own clothing display rack:
- Determine the design: Before you start building, decide on the design of your clothing display rack. Consider the type of clothing you will be displaying, the space where the rack will be located, and the aesthetic you want to achieve.
- Choose the materials: The materials you choose will depend on the design of your clothing display rack. Some common materials include wood, metal, PVC pipe, and cardboard. You will also need screws, brackets, and other hardware to assemble the rack.
- Cut the pieces: Use a saw or other cutting tool to cut the pieces for your clothing display rack. Be sure to measure carefully and make accurate cuts.
- Assemble the rack: Using screws and brackets, assemble the pieces of your clothing display rack. Make sure everything is level and secure.
- Add the finishing touches: Once the basic structure of the clothing display rack is complete, add any finishing touches you desire. This could include painting or staining the wood, adding decorative elements, or adding hooks or shelves for additional storage.
- Hang the clothing: Once your clothing display rack is complete, it’s time to hang your clothes. Use hangers or clothespins to display your clothing in an organized and attractive manner.
Some additional tips to keep in mind when building a clothing display rack:
- Make sure the rack is sturdy and can hold the weight of your clothing.
- Consider adding wheels to the bottom of the rack to make it easy to move around.
- Think about the spacing between hangers or shelves to ensure your clothes are displayed properly.
- Don’t be afraid to get creative with your design – a unique and eye-catching clothing display rack can be a great way to attract customers to your store.
How to display clothes without a rack
If you don’t have access to a clothing rack or simply want to display your clothes in a different way, there are plenty of creative options available. Here are some ideas for how to display clothes without a rack:
- On a wall: Hang a curtain rod or pipe across a wall and use hangers to display your clothes. You can also use adhesive hooks to hang clothing directly on the wall.
- On a ladder: Lean a ladder against the wall and hang clothes on the rungs. This can be a great way to create a rustic or bohemian vibe.
- On a bookshelf: Use a bookshelf to display folded clothes, shoes, and accessories. You can also use the shelves to showcase your favorite fashion magazines or coffee table books.
- On a mannequin: If you have a mannequin, use it to display your clothes. You can dress it up in a complete outfit or use it to showcase individual pieces.
- On a clothing line: String up a clothesline or wire across the room and use clothespins to hang your clothes. This can be a great way to create a playful, retro vibe.
- In baskets or crates: Use baskets or crates to display folded clothes, shoes, or accessories. You can stack them on the floor or use a shelf to create a more organized display.
- On a hanger tree: Use a coat rack or tree-shaped hanger stand to display your clothes. This can be a great option for a small space or as a temporary display.
When displaying your clothes without a rack, it’s important to consider the overall aesthetic you want to achieve. Think about the style of your clothes, the vibe of your space, and what will be most practical for your needs. With a little creativity, you can create a beautiful and functional display that showcases your clothes in the best possible light.
How to make a wooden display rack
Making a wooden display rack is a fun and rewarding project that can add a personal touch to your space. Here’s how to make a simple wooden display rack:
Materials:
- 1×12-inch wooden board (length depends on how long you want your display rack to be)
- Saw
- Sandpaper
- Drill
- Screws
- Measuring tape
- Paint or stain (optional)
Instructions:
- Start by measuring and marking the length you want your display rack to be on the wooden board. Use the saw to cut the board to size.
- Sand the rough edges of the board with sandpaper until smooth.
- Measure and mark where you want your shelves to be on the board. Divide the board evenly into the number of shelves you want and mark where each shelf should go.
- Use the drill to make holes where you marked the shelves. Drill holes on both sides of the board so that you can attach the shelves later.
- Cut the shelves to size using the saw. Make sure they are the same length and width as the wooden board.
- Sand the rough edges of the shelves until smooth.
- Attach the shelves to the board using screws. Insert the screws through the holes you drilled earlier.
- Once all the shelves are attached, sand any rough spots and edges.
- Paint or stain the wooden display rack if desired. Let it dry completely.
- Mount the display rack on the wall using screws or a hanging bracket.
Tips:
- Choose a wood that matches your decor or personal taste.
- Make sure to sand the wooden board and shelves thoroughly to avoid any splinters or rough spots.
- Use a level to ensure that your display rack is mounted straight on the wall.
- Experiment with different paint or stain colors to achieve the look you want.
By following these simple steps, you can create a customized wooden display rack that is both functional and stylish. It can be used to showcase clothing, books, decor, and more.
DIY display racks
Display racks are a great way to showcase your products, whether you’re a small business owner or just want to organize your personal belongings. Here’s how to make some DIY display racks:
- PVC Pipe Display Rack Materials:
- 1-inch PVC pipe
- PVC elbows and tees
- Saw
- Sandpaper
- PVC glue
- Measuring tape
Instructions:
- Cut the PVC pipes into your desired lengths using a saw.
- Sand the rough edges of the PVC pipes until smooth.
- Join the PVC pipes and elbows or tees to create the frame of the display rack.
- Once the frame is complete, glue the pieces together using PVC glue.
- Allow the glue to dry completely before using the display rack.
- Ladder Display Rack Materials:
- Wooden ladder
- Sandpaper
- Paint or stain (optional)
- Screws
Instructions:
- Sand the rough edges of the wooden ladder until smooth.
- Paint or stain the wooden ladder if desired.
- Measure and mark where you want the shelves to be on the ladder rungs.
- Cut the wooden planks to size using a saw.
- Sand the rough edges of the wooden planks until smooth.
- Attach the wooden planks to the ladder rungs using screws.
- Once all the shelves are attached, sand any rough spots and edges.
- Wooden Dowel Display Rack Materials:
- Wooden dowels
- Drill
- Sandpaper
- Measuring tape
- Screws
- Saw
Instructions:
- Cut the wooden dowels into your desired lengths using a saw.
- Sand the rough edges of the wooden dowels until smooth.
- Measure and mark where you want the dowels to be on the wooden board.
- Drill holes where you marked the dowel positions.
- Insert the wooden dowels into the drilled holes.
- Secure the wooden dowels in place using screws.
- Once all the dowels are attached, sand any rough spots and edges.
These DIY display racks are versatile and can be customized to fit your specific needs. They are also budget-friendly and can be made with materials that you may already have on hand. By following these simple steps, you can create unique and functional display racks for your products or personal belongings.